
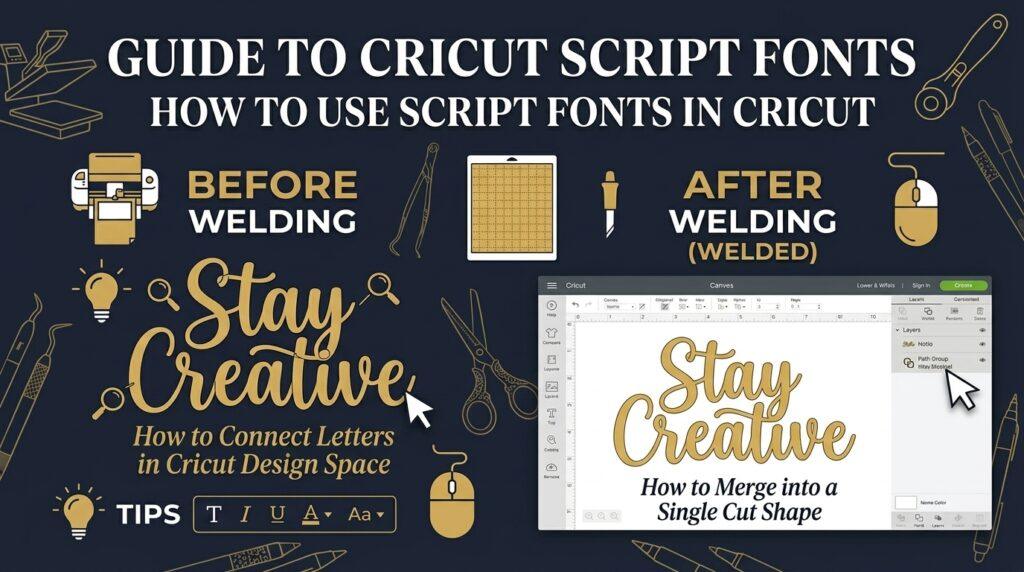
Script fonts are beautiful — but they can be frustrating in Cricut Design Space if you don’t know the Weld trick. Without it, every letter cuts separately, leaving you with a pile of disconnected pieces. This guide shows you exactly how to use script fonts correctly for a perfect cut every time.
Some links in this post are affiliate links. We may earn a commission if you sign up or purchase — at no extra cost to you.
Why Script Fonts Need Special Treatment in Cricut
Script fonts are designed with letters that connect to each other. But in Cricut Design Space, text is treated as individual letters by default — meaning each letter cuts as a separate shape, even if they appear connected on screen.
The solution is the Weld tool — it merges all overlapping letter shapes into one connected path. This is the single most important trick for using script fonts in Cricut.
The Weld Trick — Step by Step
Install your script font
Make sure the font is installed on your computer. See our guide: How to Upload Fonts to Cricut Design Space.
Create a text box in Design Space
Click the Text tool in the left toolbar → click on the canvas → type your text.
Select your script font
Click the font selector in the top toolbar → filter by System Fonts → search for your font name → click to apply.
Adjust letter spacing (kerning)
Select your text → use the Letter Space slider in the top toolbar. Reduce spacing until letters overlap slightly — this is essential for Weld to work.
Select all text and click Weld
Click your text to select it → find the Weld button in the bottom right of the Layers panel (or use Combine → Unite) → click it. Your letters are now one connected shape.
Send to Cut
Your welded text is ready to cut as one piece. Click Make It and proceed as normal.
How to Fix Script Font Kerning
Not all script fonts connect automatically. If your font’s letters don’t touch after typing, you need to manually reduce the letter spacing:
- Select your text box
- Look for the Letter Space option in the top toolbar
- Drag the slider left (negative values) until letters overlap slightly
- Apply Weld once letters are connected
Best Script Fonts for Cricut (That Weld Perfectly)
Not every script font welds cleanly. The best ones have consistent stroke width and naturally connecting letters. Here are top free and premium picks divided by category:
Top Free Script Fonts (Google Fonts)
Great for basic craft projects and testing. They don’t require commercial licenses for personal use and weld easily.
Pacifico
Smooth rounded script with consistent strokes — welds perfectly with minimal kerning adjustment.
Dancing Script
Elegant connected script — letters naturally flow into each other with minimal kerning needed.
Lobster
Classic bold script — thick strokes weld cleanly and hold up during weeding even at small sizes.
Top Premium Script Fonts with Swashes (Creative Fabrica)
If you need extra flourishes, swashes, and commercial licenses for selling your physical products, these premium fonts are top picks:
Samantha Script
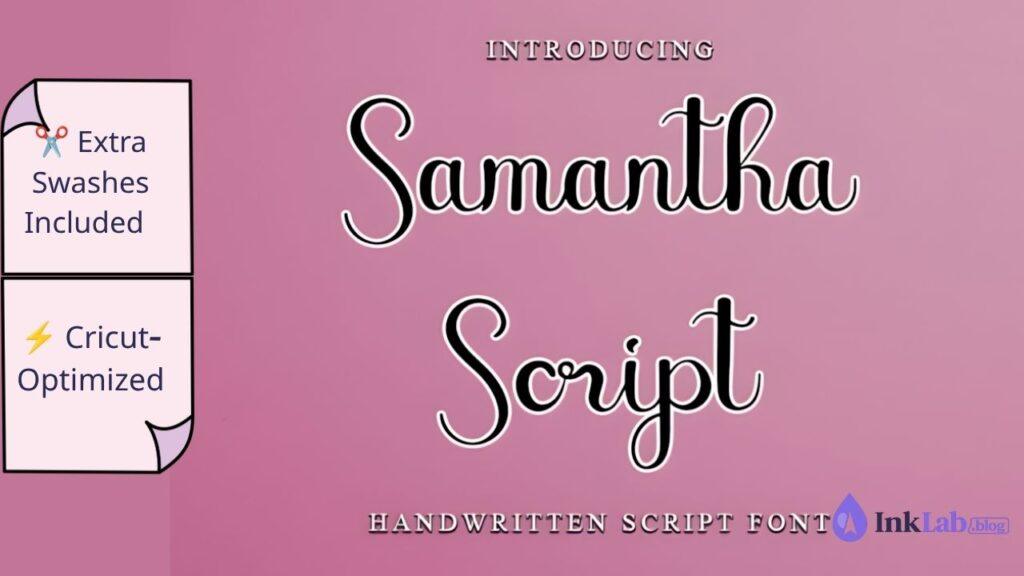
One of the most famous fonts for craft projects, featuring hundreds of decorative swashes, curls, and smooth connecting glyphs.
Wildcat Script
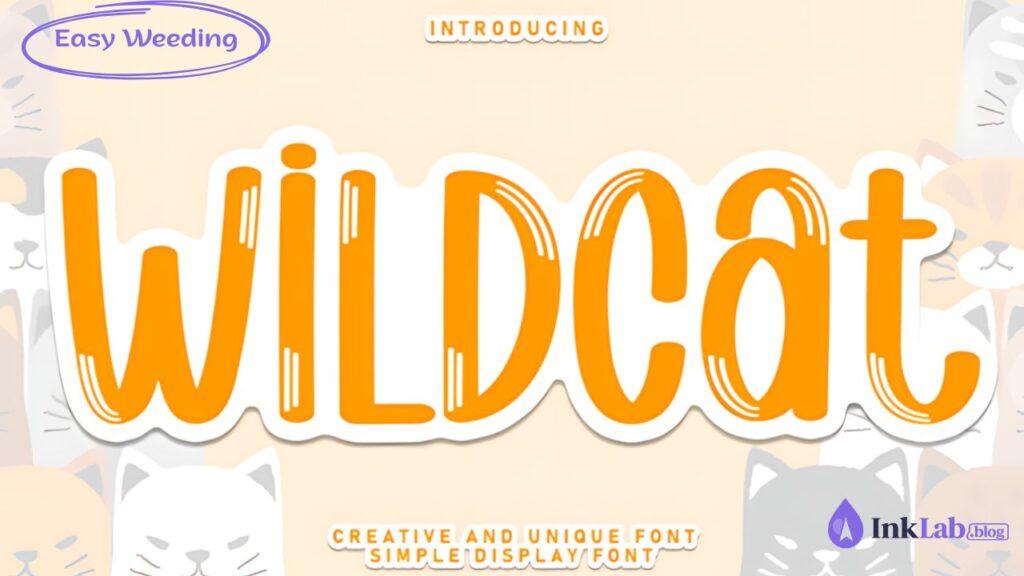
Designed specifically for cutting plotters with smooth, heavy lines that won’t lift or tear during vinyl weeding.
Buttercup
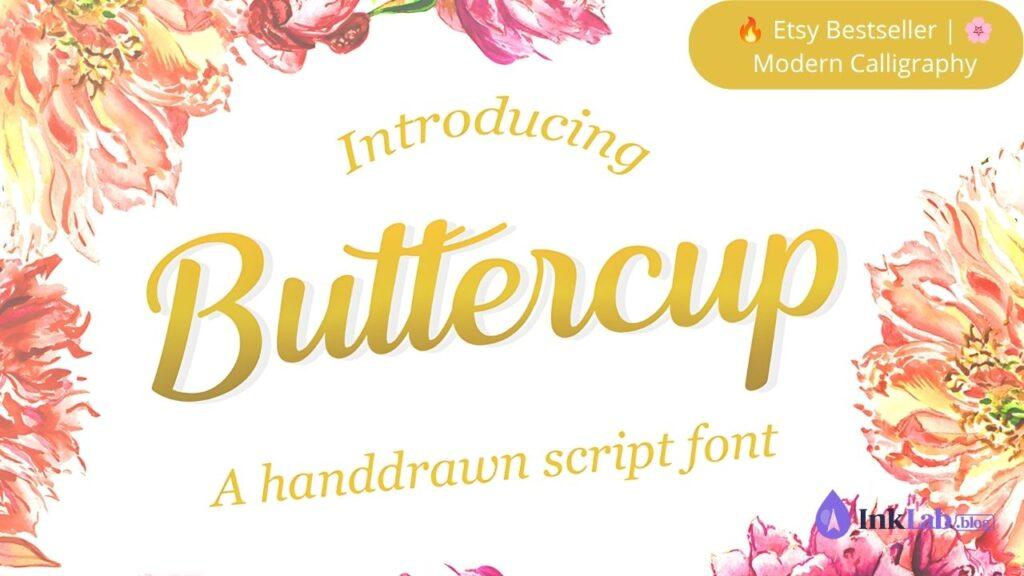
A playful modern calligraphy font that welds effortlessly in Design Space — ideal for farmhouse signs, mugs, and shirts.
Find More Script Fonts for Cricut
Thousands of premium script fonts optimized for Cricut — all with commercial license included.
Browse Script Fonts on Creative Fabrica →Advanced Tips for Script Fonts in Cricut
Using Script Fonts with Other Text
If you’re combining a script font with a block font (e.g. a name in script above a word in bold), keep them as separate text boxes. Weld only the script text — don’t weld different fonts together or you’ll merge them into one uneditable shape.
Sizing Script Fonts for Different Projects
- Tumblers & mugs — minimum 1 inch tall for clean weeding
- HTV shirts — 3–6 inches wide works best
- Wall signs — can go larger, thin scripts look stunning at big sizes
- Ornaments & small gifts — use bold scripts only, thin hairlines tear at small sizes
Thin Script Fonts — Use With Caution
Elegant thin scripts like Sacramento look beautiful on screen but can be difficult to weed at small sizes. The thin strokes tear easily. For small projects, stick to bolder scripts like Pacifico or Lobster.
Script Font Troubleshooting
Letters won’t connect even after reducing spacing
Some script fonts are designed as disconnected letters — they’re not true connected scripts. Check the font preview: if the letters clearly don’t touch in the preview, the font isn’t designed for Cricut welding. Switch to a connected script font.
Weld button is greyed out
The Weld button only appears when you have multiple layers selected. Make sure you’ve selected the text layer in the Layers panel. If the text is already one layer, try ungrouping first (right-click → Ungroup), then selecting all letters and welding.
Design looks fine but cuts wrong
Check your mat preview before cutting. If letters appear separated in the mat view, the Weld didn’t apply correctly. Go back to your canvas, undo, and try the Weld process again.
Final Thoughts
The Weld trick is the key to beautiful script font projects in Cricut. Once you get the hang of it — install the font, adjust kerning until letters touch, apply Weld — you’ll be cutting perfect connected text every time.
For font recommendations, see our Best Script Fonts for Cricut & POD guide and our full Best Fonts for Cricut list.
Get Unlimited Script Fonts + Commercial License
178,000+ fonts including thousands of script fonts perfect for Cricut projects.
Browse Script Fonts on Creative Fabrica →
FAQ
What is the Weld tool in Cricut Design Space?
Weld merges overlapping shapes into one connected path. For script fonts, it combines all the individual letter shapes into a single cut path — so your text cuts as one piece instead of separate letters.
Why is my script font cutting as separate letters?
You need to apply the Weld tool. First reduce letter spacing until letters overlap, then select the text and click Weld in the Layers panel.
Can I unweld text in Cricut Design Space?
No — Weld is permanent. Always save your project before welding so you can go back to the pre-welded version if needed. Alternatively, use Combine → Unite in newer Design Space versions.
What is the best script font for Cricut beginners?
Pacifico and Lobster are the easiest to start with — both are free on Google Fonts, have thick consistent strokes, and weld cleanly with minimal adjustment.
Do all script fonts work with Cricut?
No — some script fonts have letters that don’t connect or have very thin strokes that tear during weeding. Choose fonts with connected letters and consistent stroke width for best results.